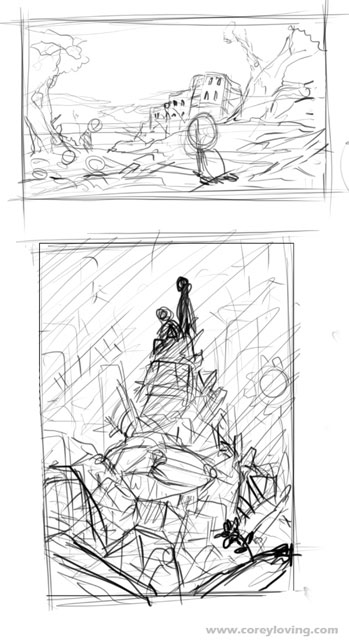
STEP 1.
-Start out with thumbnail sketches to rough out ideas.
-I choose the bottom one.
-The idea was "kids who survived the destruction of world war III find beauty and hope in the world."
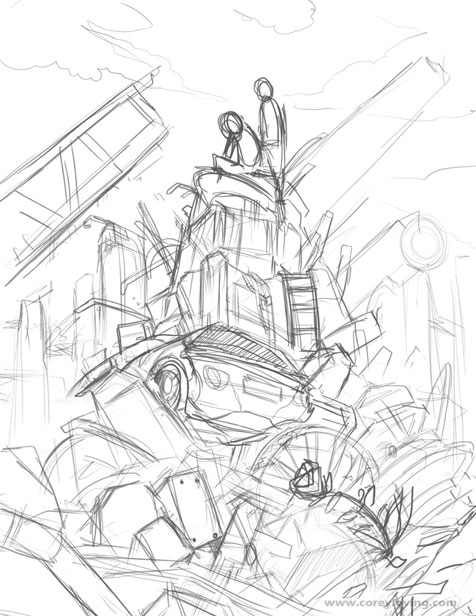
STEP 2.
-I add a new layer in photoshop underneath the drawing and begin coloring in details.
-Afterwards I make a 3rd layer on top of everything and begin to paint on top of the initial drawing and under color layers.
-Note ( I also add a overlayer layer on top of everything and paint in some violets, yellows, and blues to warm and saturate the picture more. Then I add a Photofilter set to Warmer Filter (85) to warm it even more. All these things gives the picture more life.
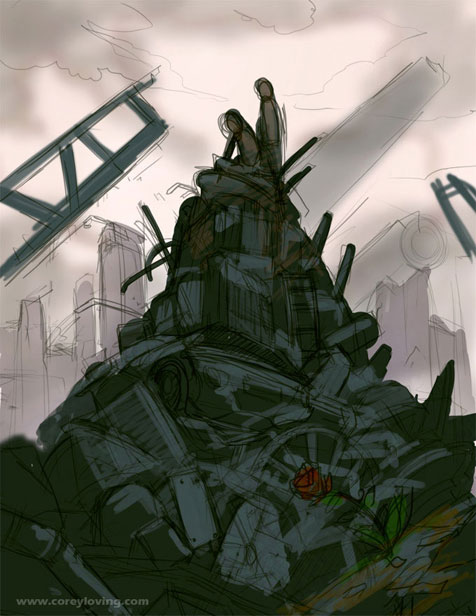

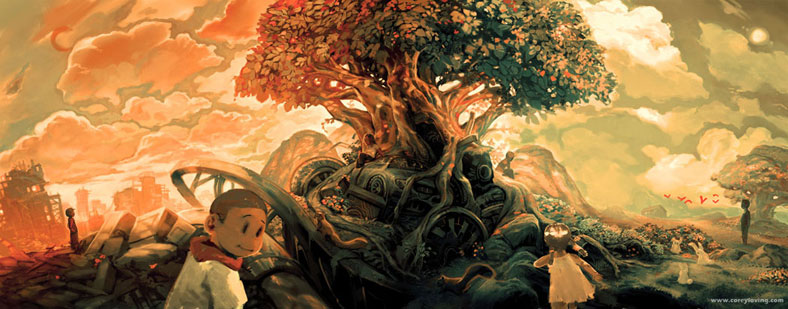
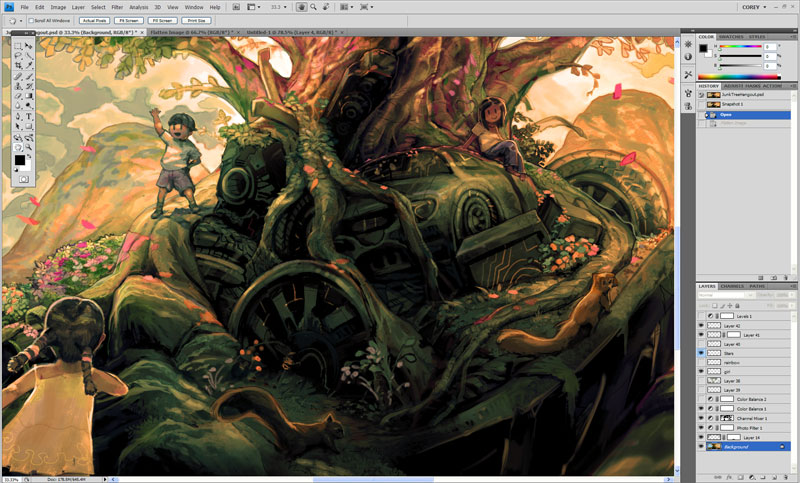
STEP 3.
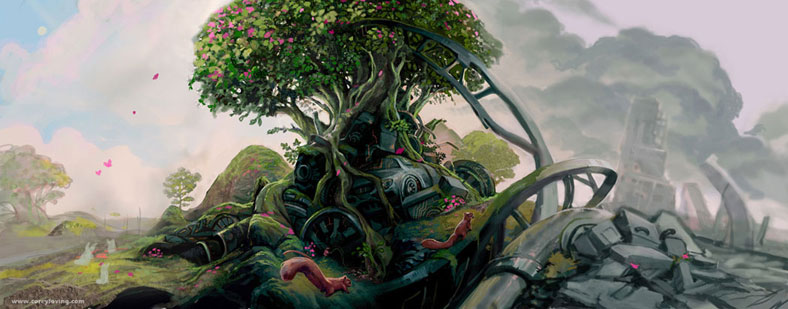
I flatten the image and decided to stretch the canvas out more horizontally as my ideas begin to change. Every now and then I bring the picture into Painter and use the Round Camel Hair and Just Add Water Brush to add in details like the sky and the green ground. Then I jump back into photoshop and continue to paint.
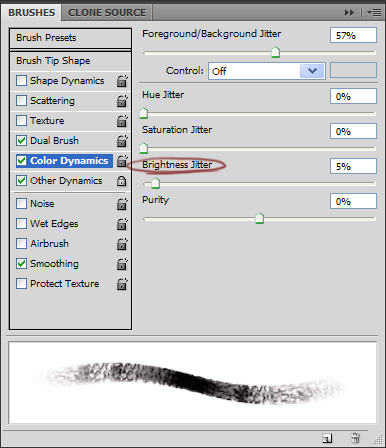
-In Photoshop I used the default Hard Round Brush as well as the Oil Pastel Large brush. A little trick for painting texture into the plants with the Oil Pastel Large Brush is to set Color Dynamics setting on and turn up the Brightness Jitter a little. It'll give the impression of more detail than you really painted by hand.
-Also Im flipping the canvas constantly to make sure things are working right. It gives you a fresh look on the picture and clarifies any possible mistakes.


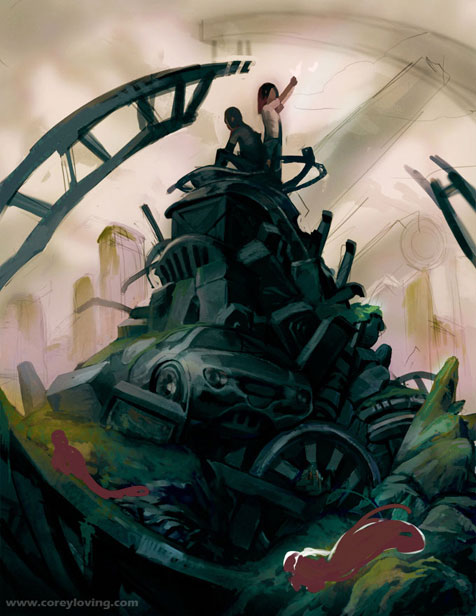
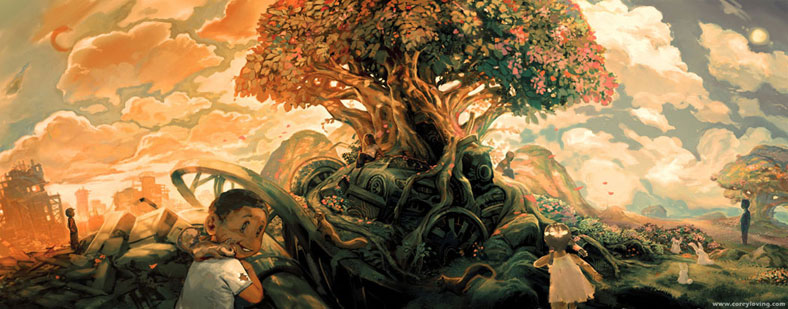
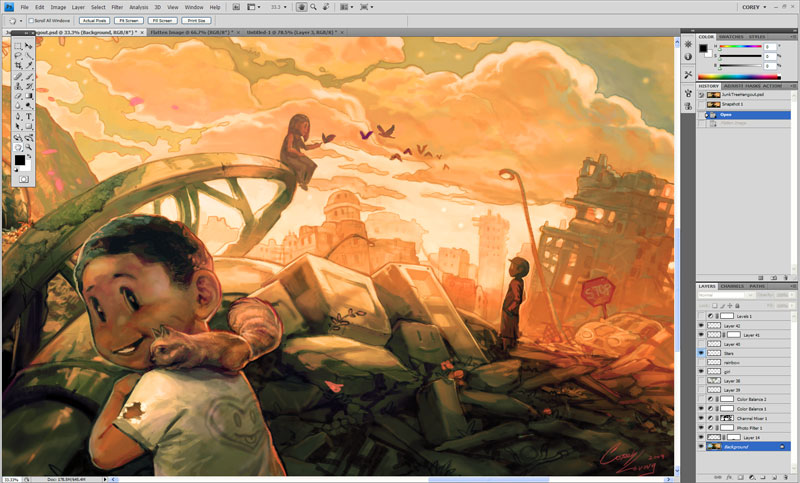
STEP 4.
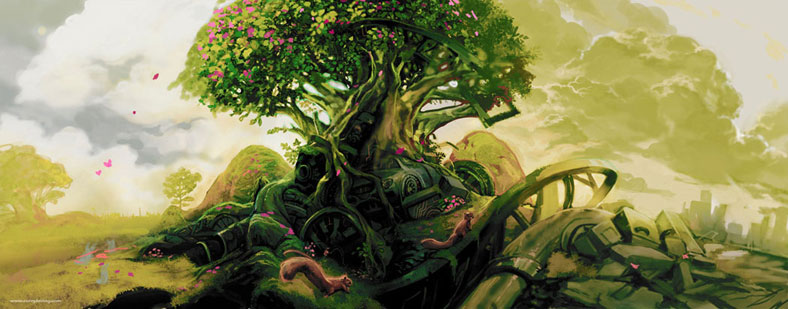
Even crazier I stretch the canvas more as new ideas begin to form. The new idea was to split the picture into two halfs like two seperate paintings. One side will have the destruction the other side will have the peace. I played a lot with the color by using Color Balance in Photoshop and Photo Filters, fooloed around with differnt cloud designs by looking up references of clouds online, and just had fun making things up.

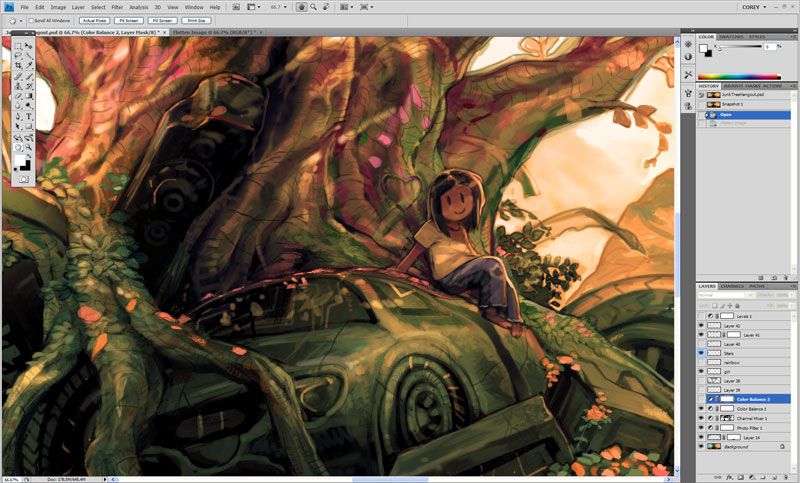
STEP 5.
At this point I wanted to add the kids back into the picture and really make them focal points.
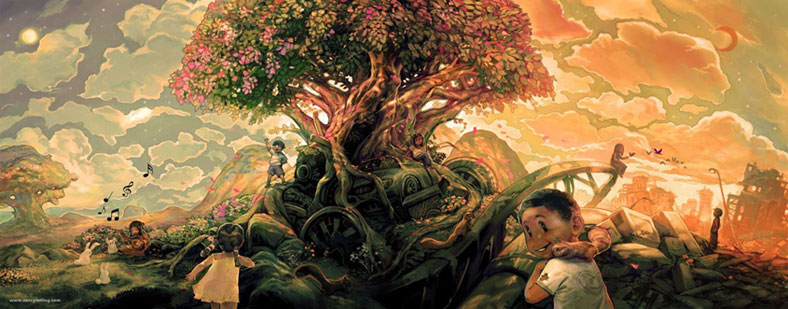
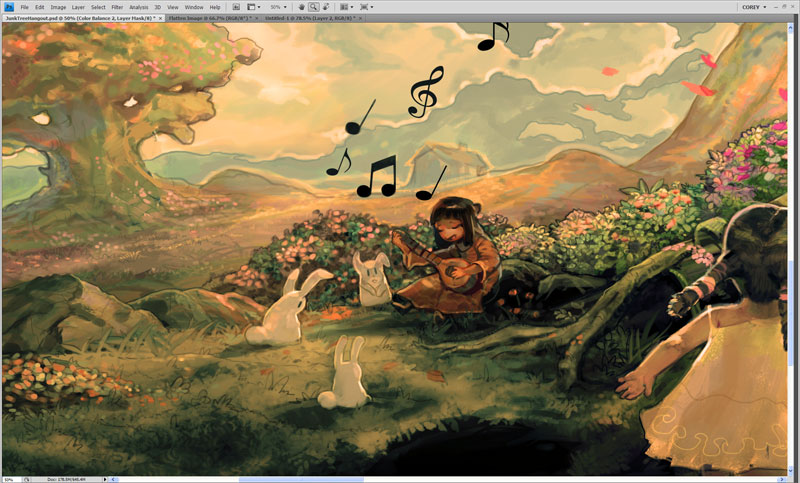
STEP 6.
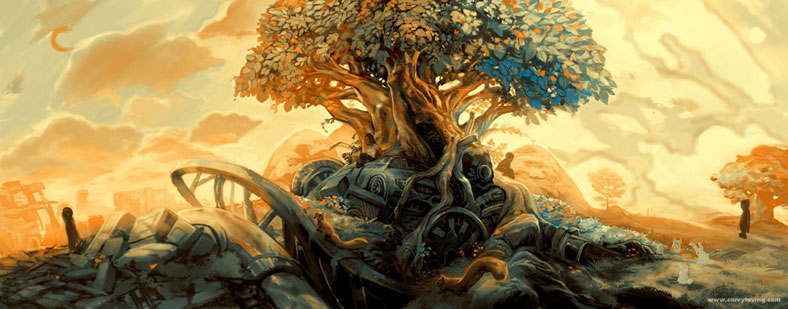
Finishing touches are always very important. Added a heart design on front characters shirt, made music notes, leaves, and birds flying in the background. I also went over everything and outlined it with a black or light colored small sized brush. It seemed to really pop things out more, especially the clouds.
/JunkTreeParadiseSmall.jpg)
The final result. I hope you enjoyed gang. Take care GODbless.
-Corey
![]()
Original Artwork by Corey© Copy right Corey Loving. 2009. Allrights reserved